|
PSW
1.
Click on New icon or Files --> New. At the Open menu, click New. At
the New menu, click on 210x430mm. Click OK.
2.
Load the 210x430 Multi Hoop.
3.
Click on Create --> Add multiple hoop cross
4.
A stop is automatically added at the beginning of the cross to give you
the option of sewing it. The cross is a reference line used to align
designs at the XL1000 layout screen. The cross is optional, but I find it
invaluable in lining up designs. The cross is a basting stitch and is
easily removed. The color stop is unnecessary in Embird, so to delete it -
click on the Edit Outline icon (or Edit --> Edit Outline).
Press Home on the keyboard to go to the beginning of the
cross, press the right arrow on the keyboard twice to move to the STOP.
Press delete to remove the color stop.
5.
Save the cross reference line as crossref.xxx.
Note: You can create the reference line easily in Embird. In Editor,
choose the Options --> Hoop Size --> Singer Multi-Hoop Horizontal.
Then click on Insert --> Cross Reference Line command.
EMBIRD
1.
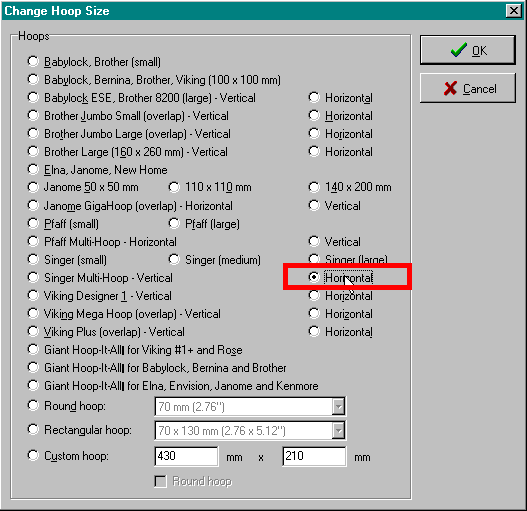
In Editor, choose Options --> Hoop Size --> Singer Multi-Hoop Horizontal
(Picture No. 1). Click OK.
Picture
No. 1
2.
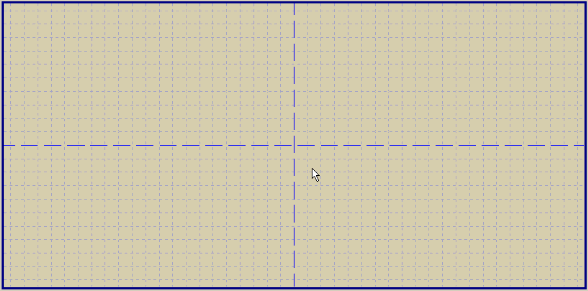
Press Ctrl+Page Down on the keyboard until hoop fits within screen. Picture
No. 2 shows the darker blue lines that indicate the center of the Singer multi
hoop. These lines correspond with the cross reference line in PSW.
Picture
No. 2
3.
File --> Merge (Ctrl+M) to bring in files to be split. Files will be
rotated automatically by -90 degrees.
4.
Move/rotate/size files as you please. When the designs are in desired
arrangement, Select All (Ctrl+A) and click the Center icon to center the
designs both horizontally and vertically. This step is optional.
5.
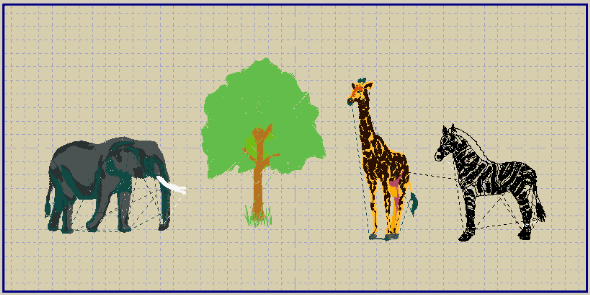
Decide how the design will be split. Picture No. 3 shows the designs that will
be split into three sections - 1) elephant, 2) tree, 3) zebra and giraffe.
Picture
No. 3
6.
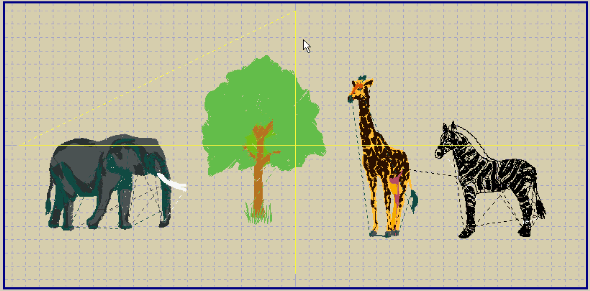
File --> Merge to merge the previously saved cross reference line.
The cross is automatically centered and aligned with the darker grids in the
multi hoop (Picture No. 4).
Picture
No. 4
7.
The elephant will be split first.
Note:
Hide colors of any design(s) that interfere with splits. In this example,
only the tree interferes with splitting the left and right sections.
a.
From the Objects Order Bar (right side of screen), right click one of
the colors in the tree. Choose "Hide All Colors".
b.
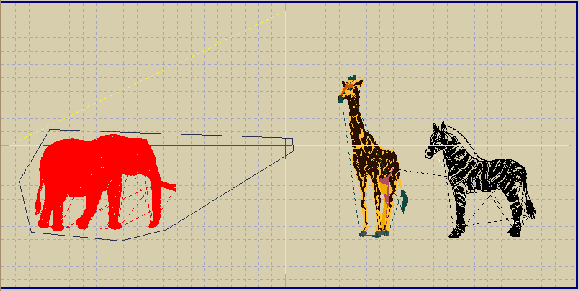
Click Freehand Select Mode (left side of screen). Left mouse click to
draw a polygon around the elephant and the center of the cross (Picture No.
5). Double click when finished to close the polygon. Click Split.
c.
File --> Save Selected as --> Compucon.XXX ®
save as AnimLeft.
d.
Click the Undo icon. Since a portion of the cross reference line was
included in the split, we will need to undo this action so the entire line
will be available for future splits.
Picture
No. 5
8.
Split the giraffe and zebra:
a.
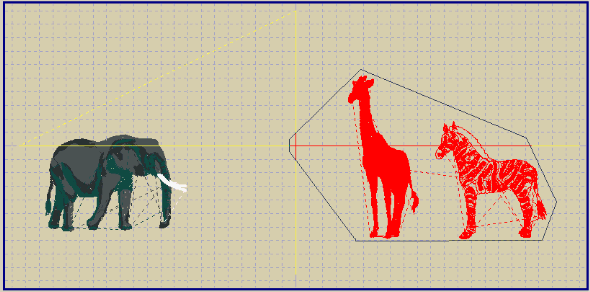
With tree still hidden, click the Freehand select icon and left click
around the giraffe, zebra and the center of the cross reference line
(Picture No. 6). Split.
b.
File --> Save Selected as AnimRt.
c.
Undo to restore the cross reference stitches that were split.
Picture
No. 6
9.
Split the tree:
a.
From the Objects Order Bar, right click on one of the colors in the
tree and choose Show All Colors.
b.
For this exercise, the height of the tree should fit within the 130mm
width of the large hoop. Since the tree is 126mm tall, only 4mm of the
vertical cross can be included before we're at the 130mm limit. Zoom in so
the tree will fill the screen.
c.
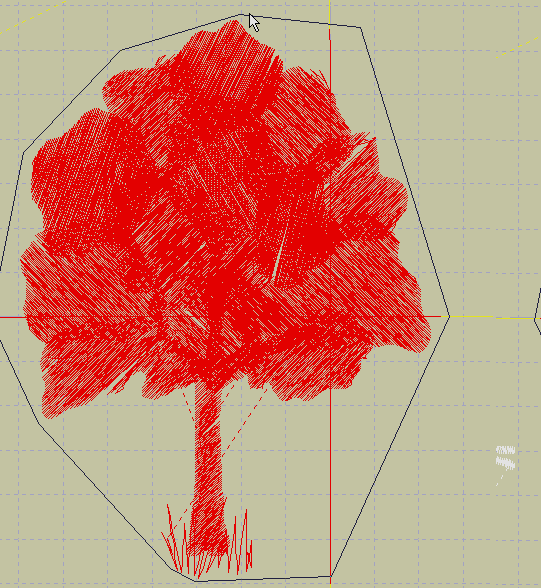
In Freehand select mode, draw around the tree, getting as close as
you can at the top and bottom so you won't pick up more than 4mm of the
cross reference line (Picture No. 7). Split.
d.
File --> Save Selected as AnimCtr.
Note
1: A quick method to select
several designs, left click on first design, then while holding down the Shift
key, left mouse click on another design to add to your selection. You can
click on a design within the design screen or click a design icon on the
Objects Order Bar (right side of the screen).
Note
2: After a design has been
selected and split, the bottom of the screen will show size, stitch count and
color count of the selection.
Note
3: When you "Save selected
as", Editor will display an error message if the design is too large or
exceeds the color and stitch count limitations.
Note
4: When you save the parts to
.XXX format, they will be rotated back by 90 degrees.
Picture
No. 7
PSW
Open
each split design in PSW (1.1 users do not convert stitches to block). Write
designs to card.
XL1000
1.
At the XL1000 embroidery screen, select Multiple Hoop Embroidery.
2.
Load each multi hoop design into the embroidery machine.
3.
Use Zoom and Edit/Position to align the multi hoop cross from each
design with the X/Y axis on the XL1000 layout screen.
For
detailed instructions on loading multi hoop designs in the XL1000, please read
the XL1000 manual.
|


